Meet Enki

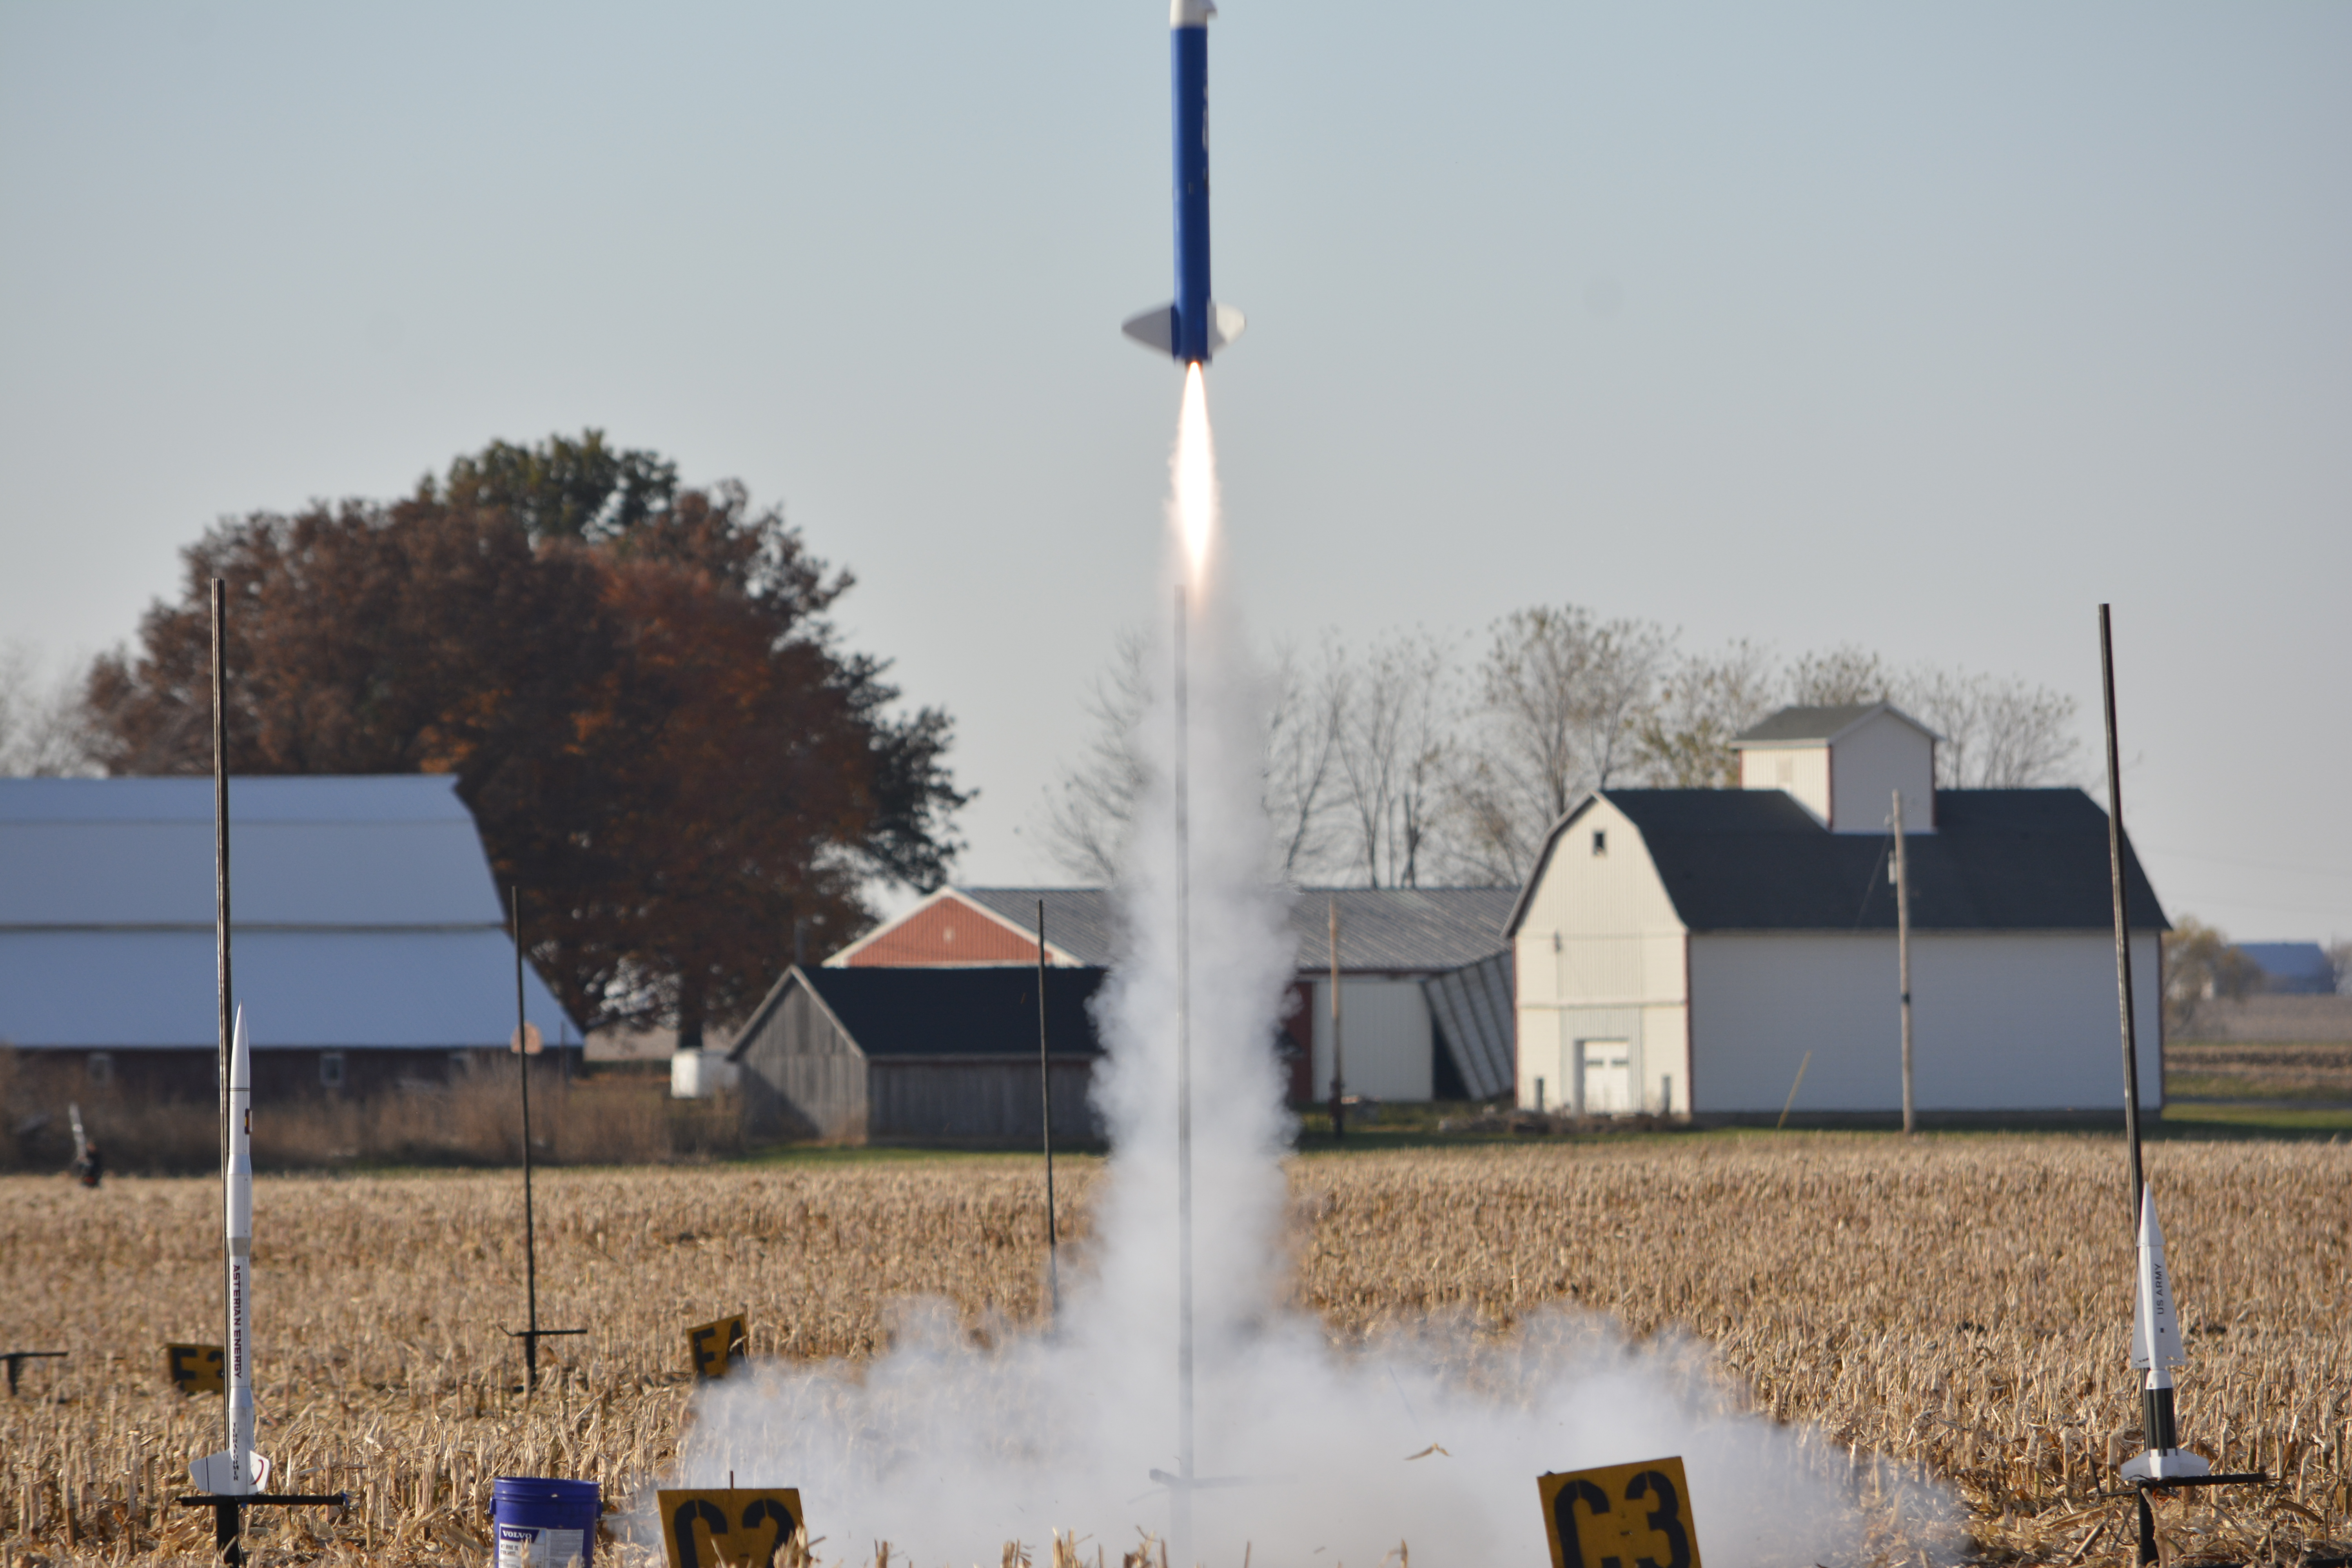
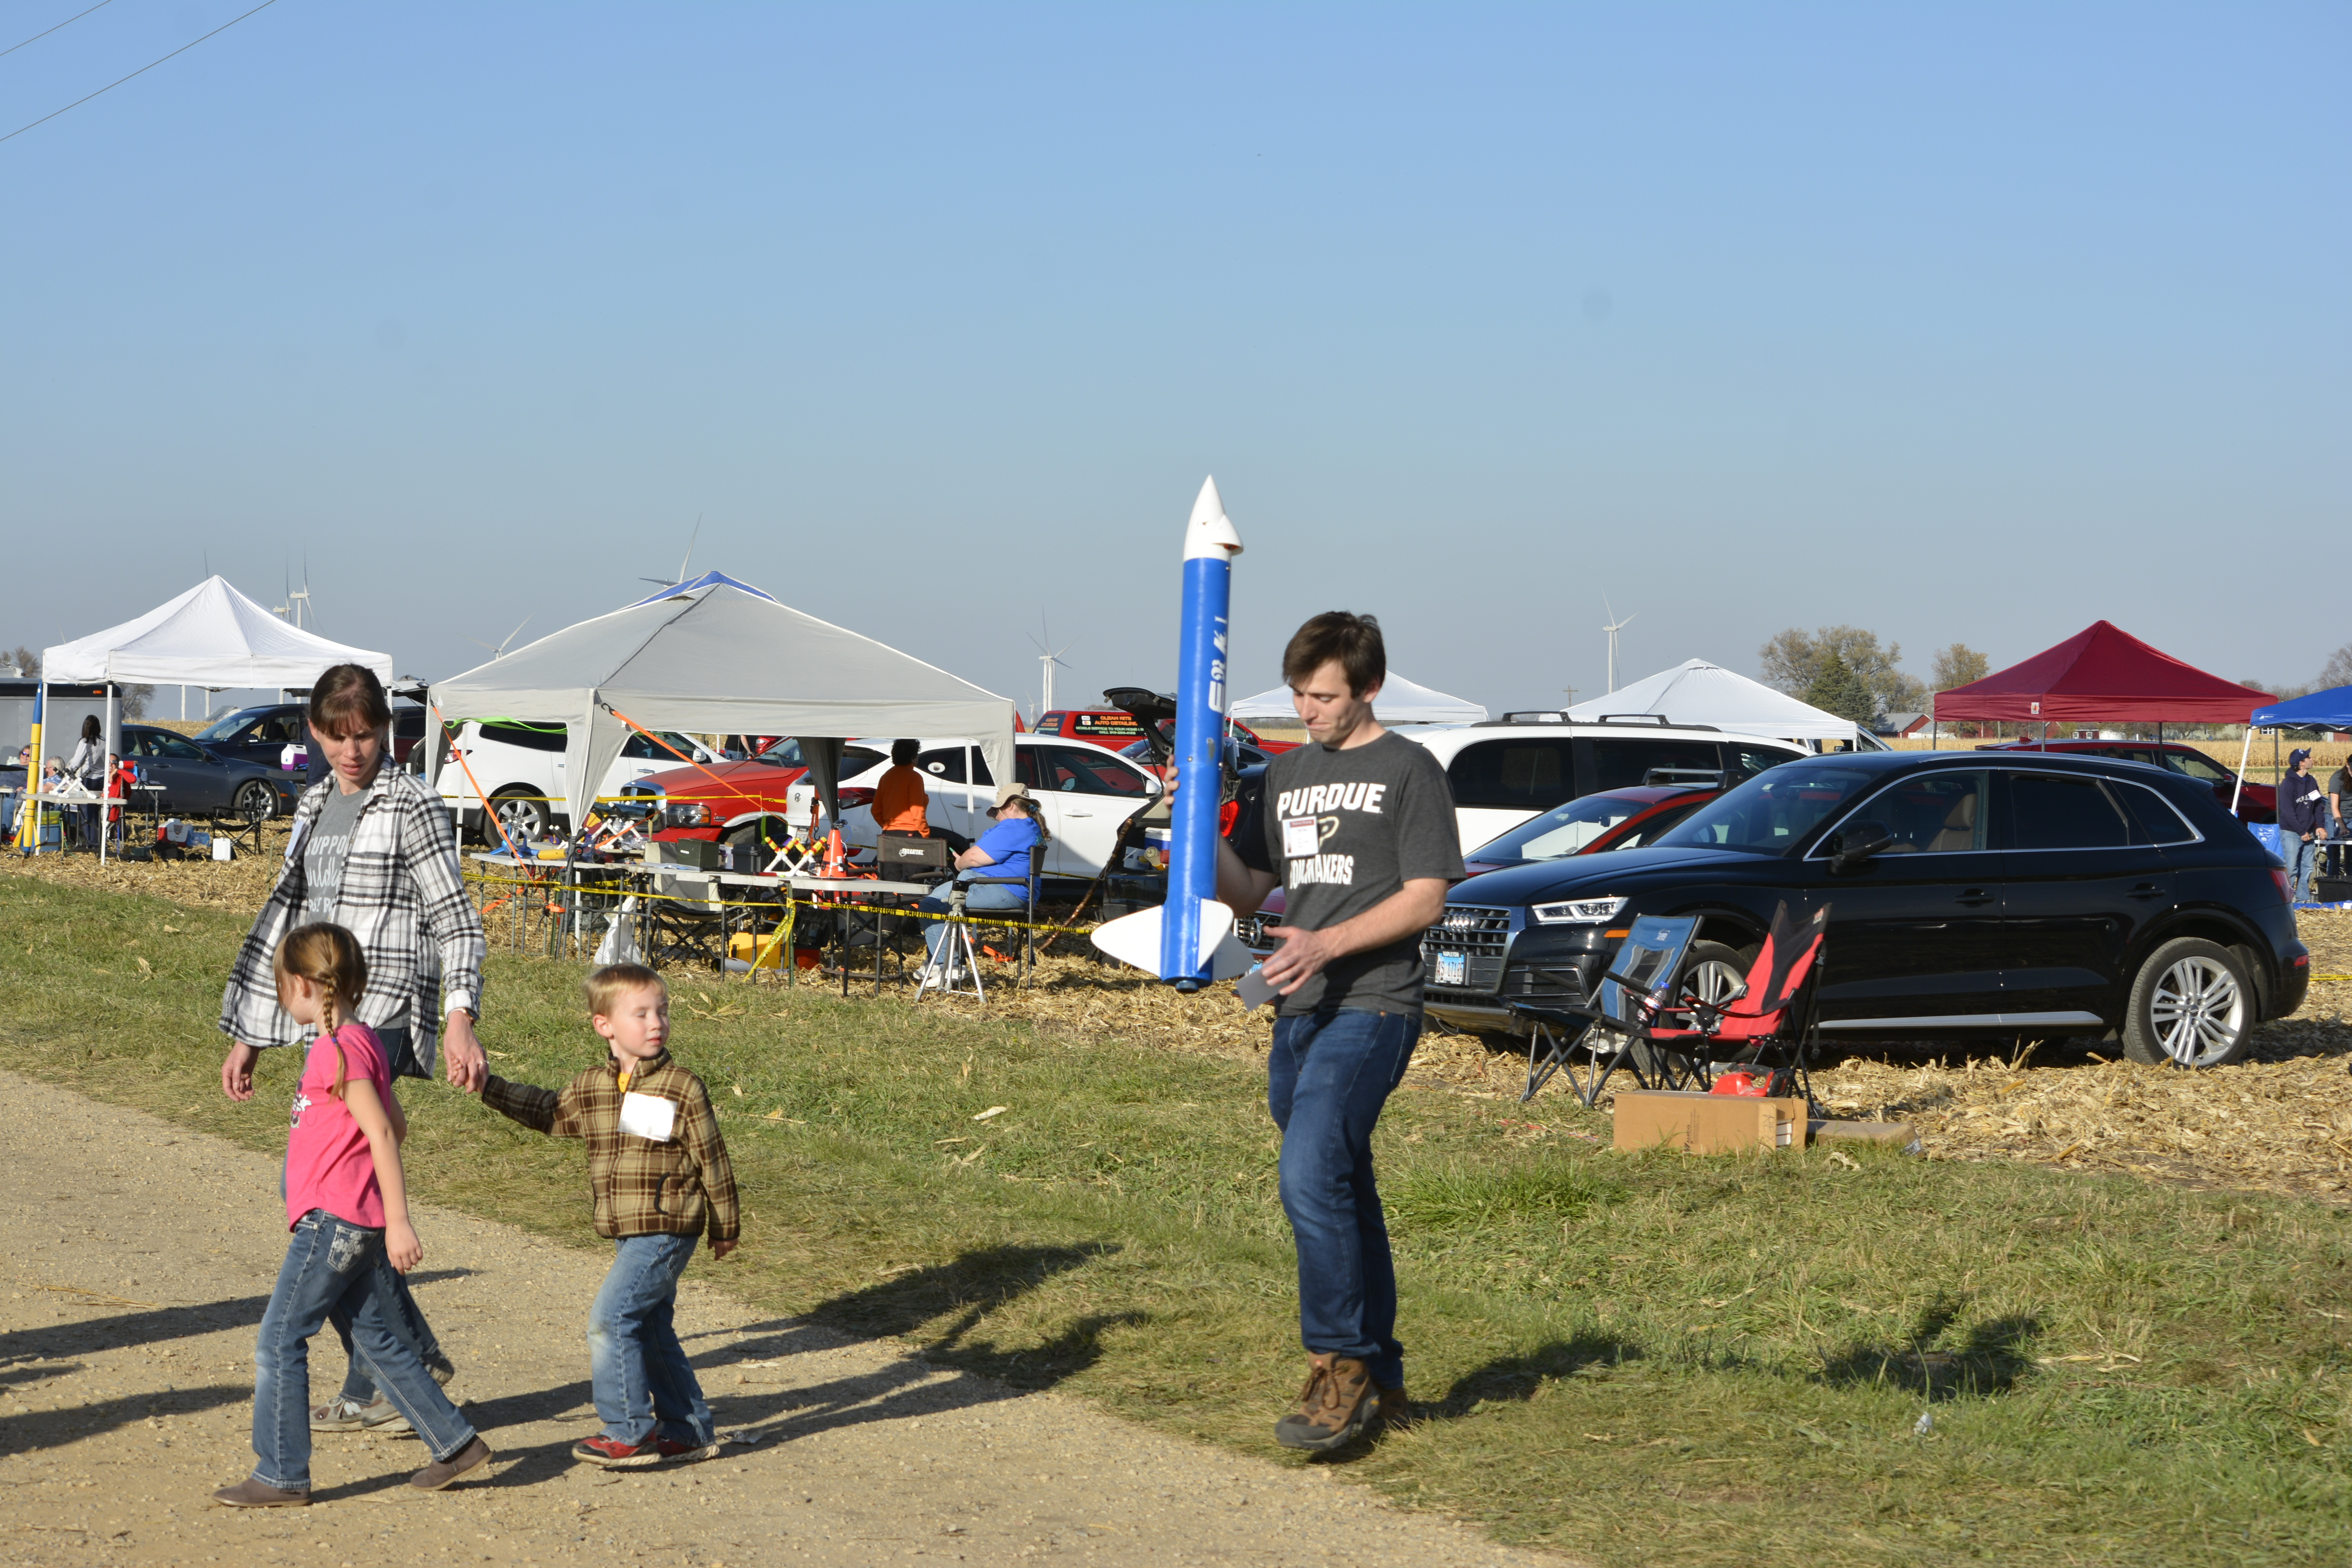
Enki is my first 100% custom rocket build. The project was formulated after a spectacular motor CATO led to the destruction of my previous L1 rocket, DUMBO I. Enki is meant to replace DUMBO I as a small-scale testbed for custom avionics that I will develop and test in my free time. Therefore, many of the design choices made were to make mounting and testing avionics hardware onboard as easy as possible (for example, a 4-inch diameter to allow my entire arm to fit inside the rocket). Additionally, Enki took full advantage of my 3D printing capabilities as I designed and printed many essential components to maximize avionics modularity and reduce the overall cost of the rocket. These included the custom nosecone/camera shroud, fins, and avionics bay coupler.
Launch Videos
Building and Fiberglass

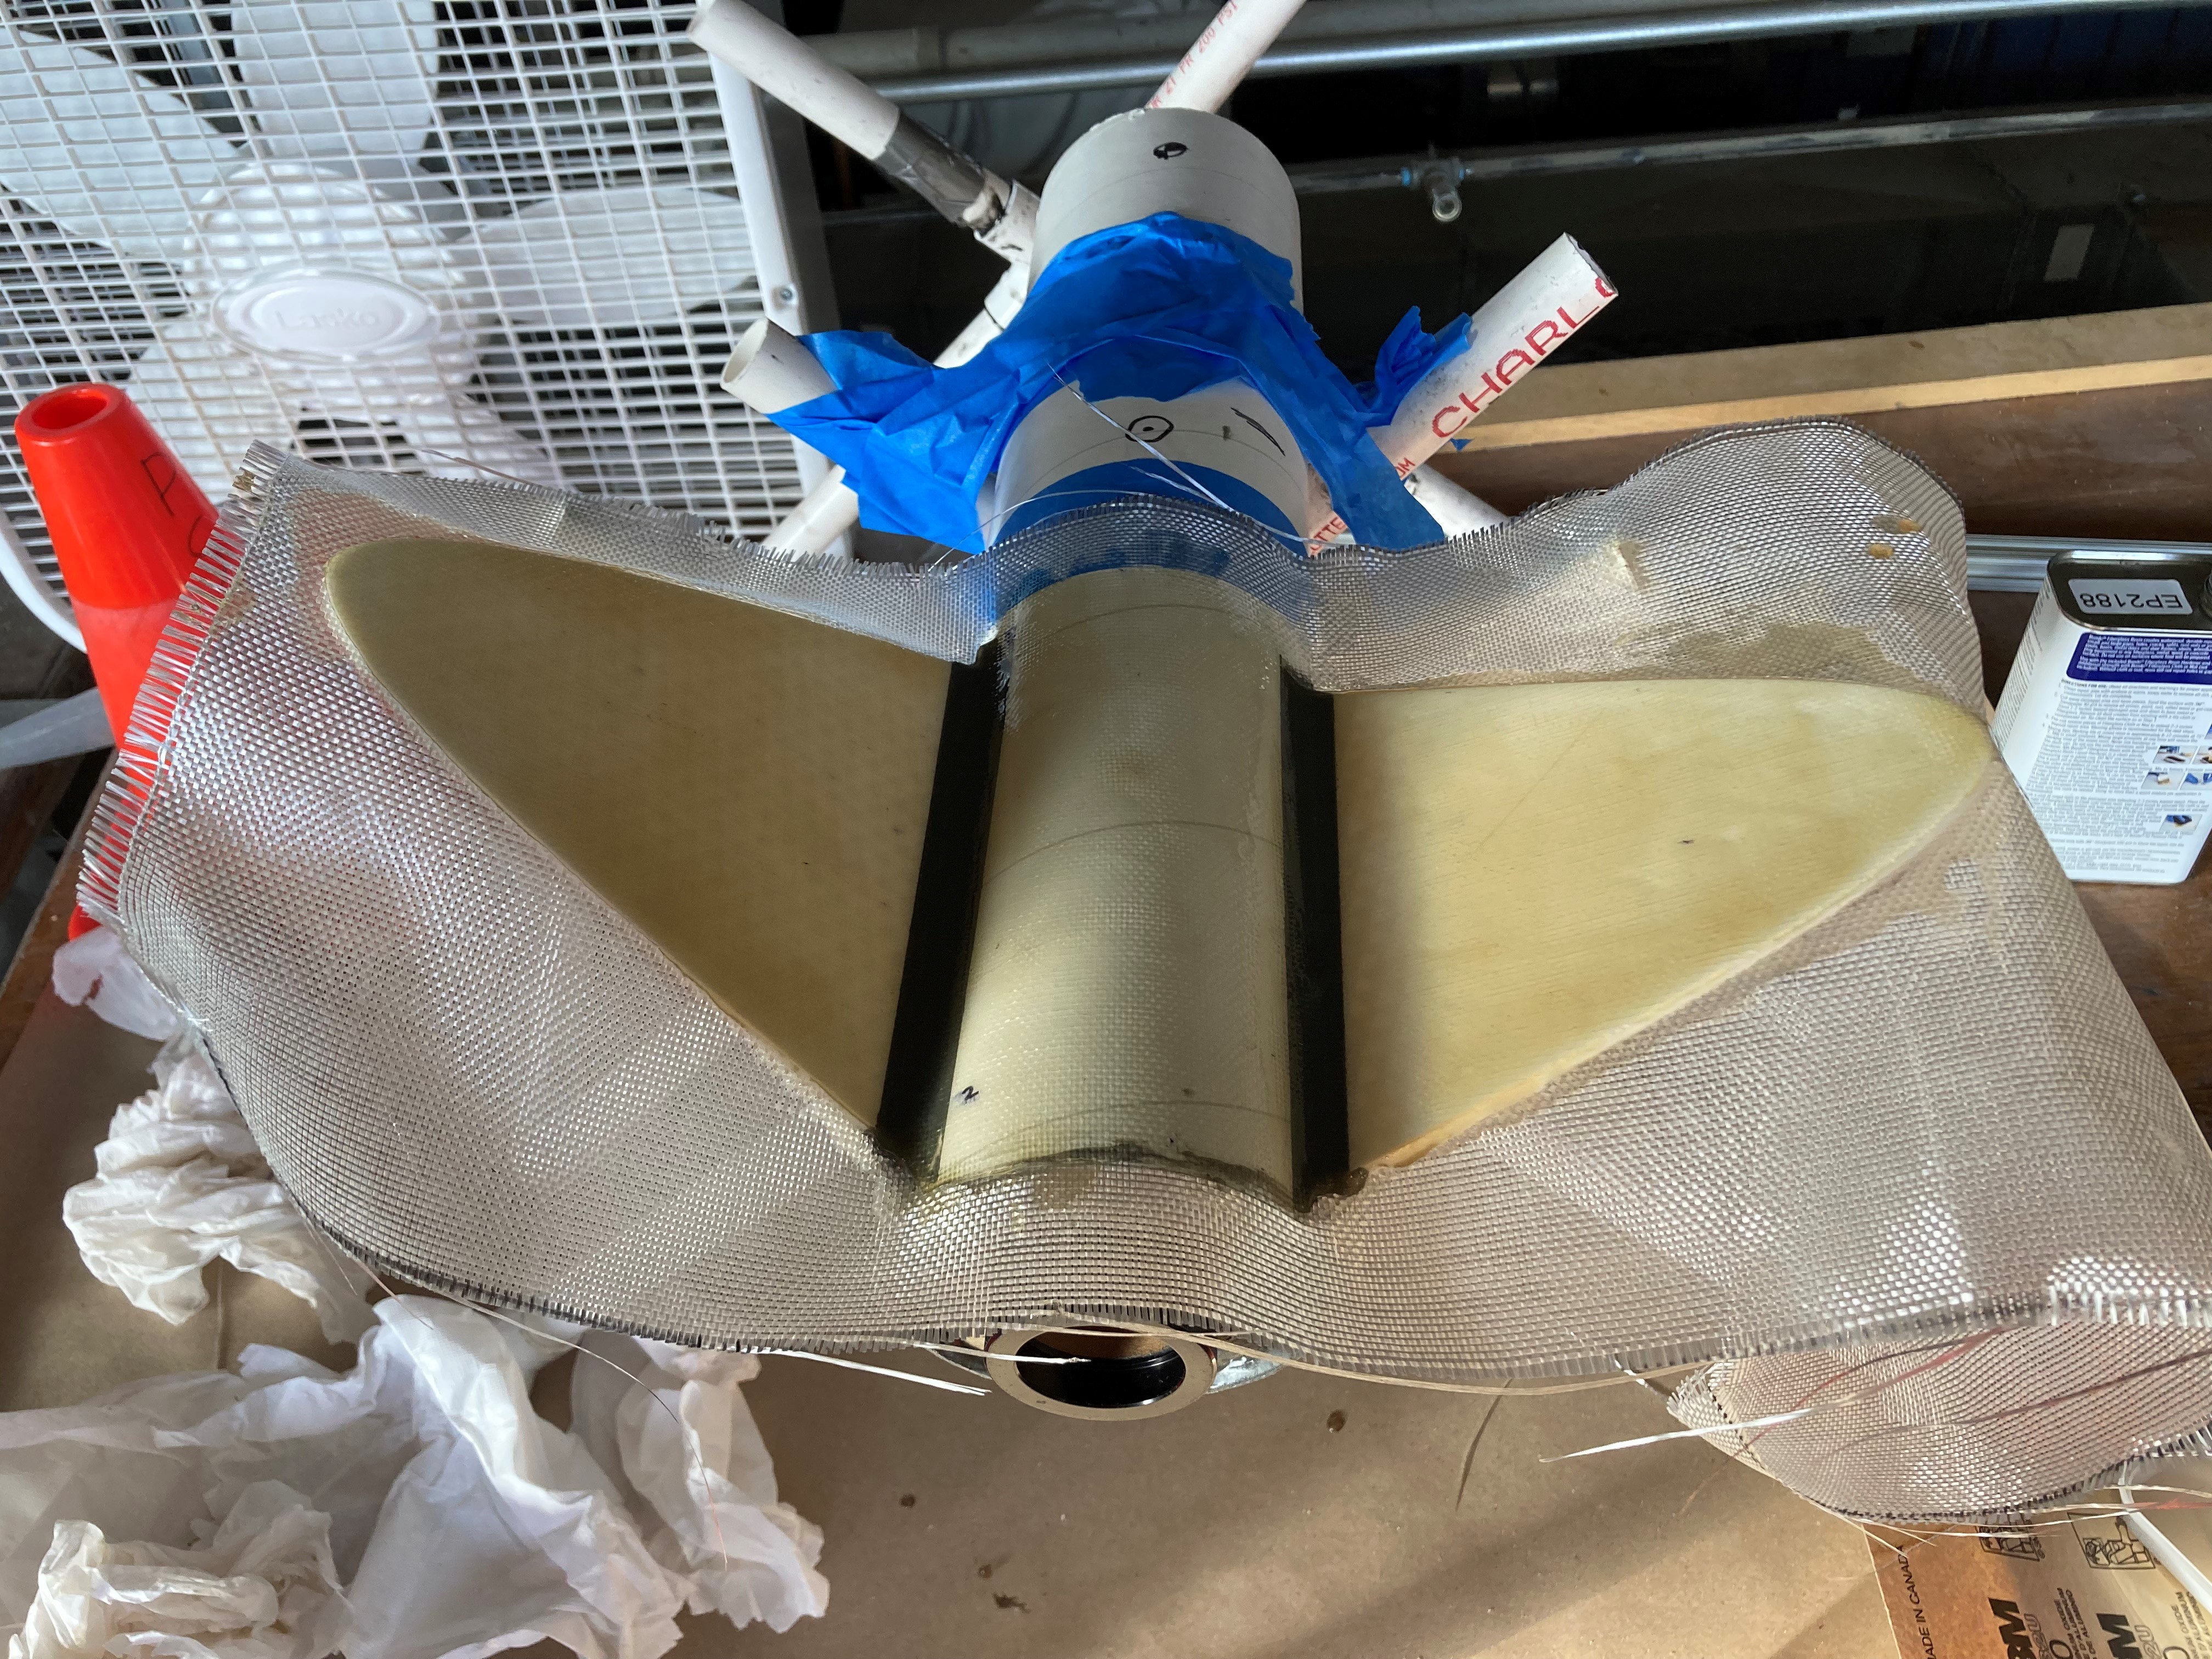
To improve the structural integrity following the first flight of enki, I fiberglassed the fin can. My main concern was the 20% infill on the fins would lead to their cracking, a reason why I had oversized the parachute. Before painting enki, I wanted to fiberglass the fins to be certain there would no risk of their breaking during landing. I bought the weave from Lowes and laid up the fiberglass as seen above. I placed one face of the weave on the flat surfaces and a thin strip along the edges. After the epoxy dried, I cut away excess fiberglass and sanded the edges to improve aerodynamic performance while getting rid of any imperfections. I was very pleased with the end result and currently have no concerns of the craft breaking during touchdown.
Launch Recording Assembly

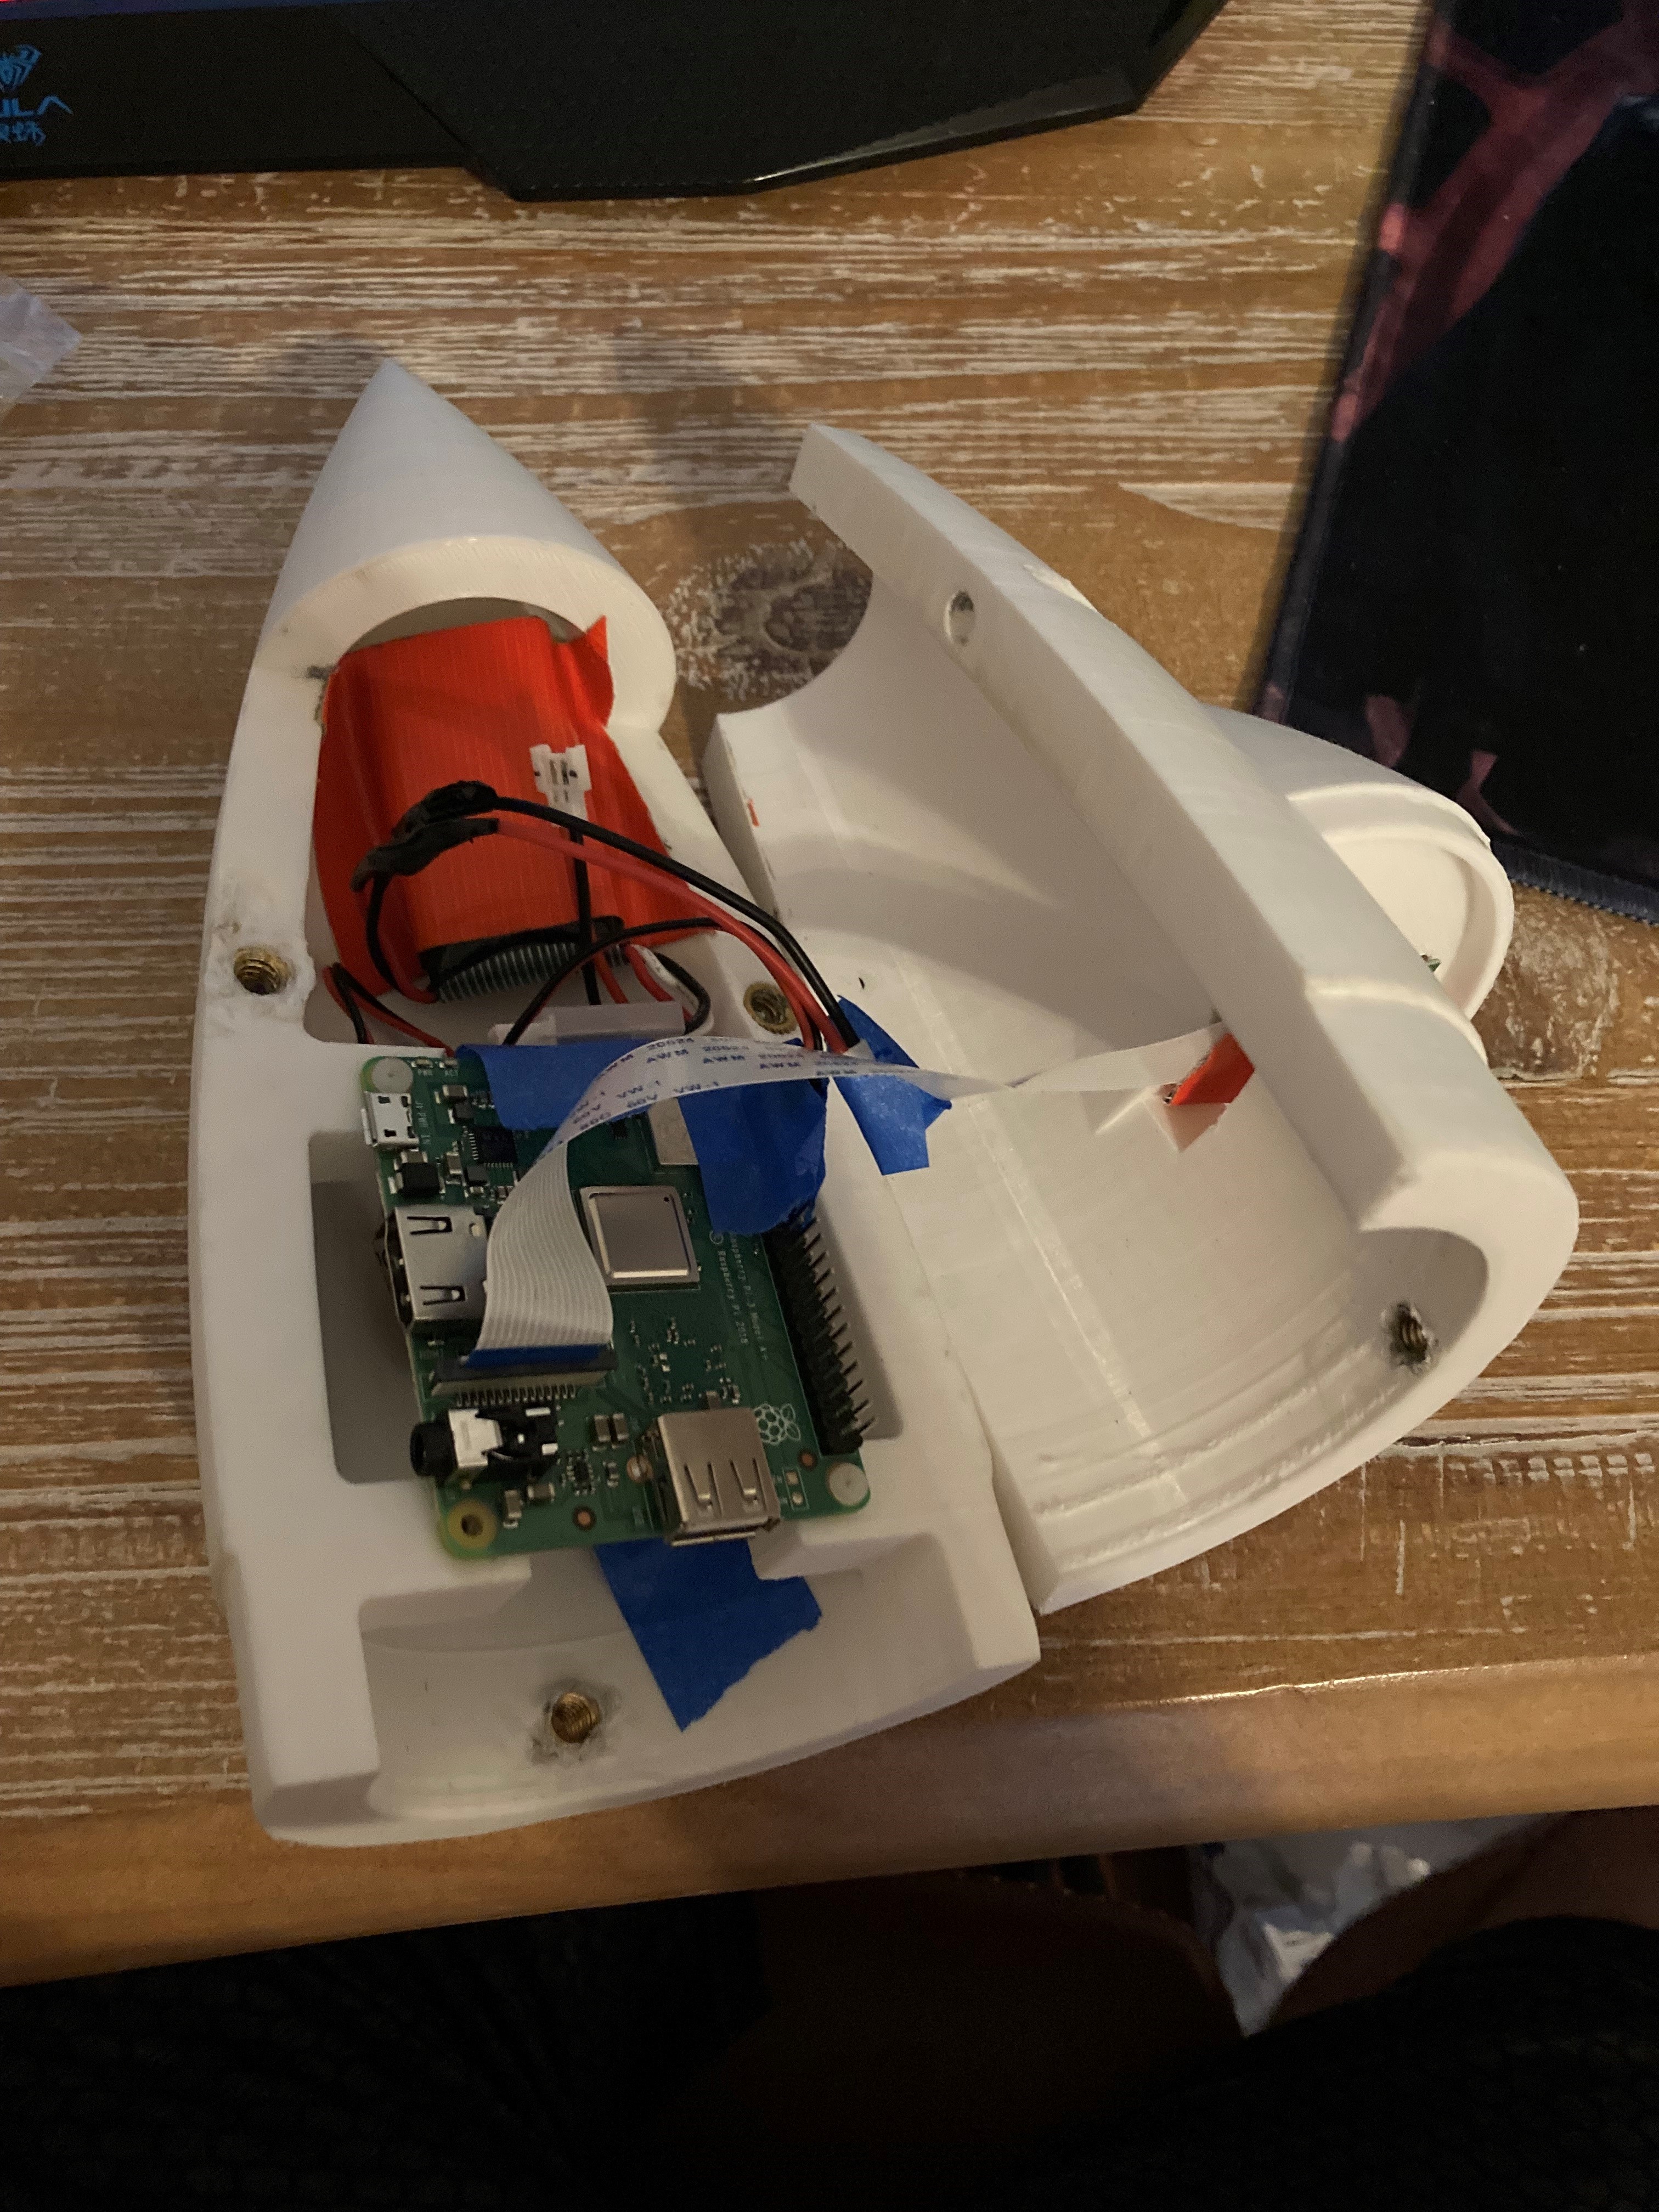
In addition to the actual rocket, I developed a camera setup using a Raspberry Pi 3A and Raspberry Pi Camera Modules to record the flight. The main struggle with this part of the project was if power was lost to the Raspberry Pi, the video would be corrupted. I was able to work around this in the software by writing a script which recorded the video in 2 minute intervals. Post launch, I was able to parse these videos together and get the full launch video!
Reflection

The majority of issues in Enki’s fabrication and assembly were caused by my inexperience with proper tolerancing in my 3D designs. I greatly underappreciated when designing components, especially those that were 3D printed, what the difference between what was modeled and what was actually produced would be. With the prints, my designs were as conservative as possible when considering spacing for heat-set inserts and fittings on Enki (leaving very little to no room for error). Unfortunately, this led to hours of sanding attempting to reach a proper fit between components. Additionally, the conservative spacing allotted for heat set inserts led to an excess of liquified PLA plastic flowing into the inserts during insertion with a hot soldering iron. This caused quite a bit of later difficulty inserting screws into those inserts. In some cases, I was forced to abandon those inserts entirely and rely on the others to properly secure components (for example, only three screws of the four were used to secure the Raspberry Pi computer used for the LRA in the nosecone as I was unable to properly mount the fourth insert due to tolerancing).
Another concern was the fins were significantly flimsier than expected. At 20% infill the fins seemed far too easy to deform. Fortunately, the parachute was oversized as a soft landing for the onboard avionics was valued higher over a landing near the initial launch site. This, I believe, significantly decreased the force of impact on the fins as it landed on the ground and no damage was observed. Until damage is observed on the fins, I will continue to fly them in their current 20% infill configuration as I see very little risk of them being damaged at any other point in flight than the ground impact.